
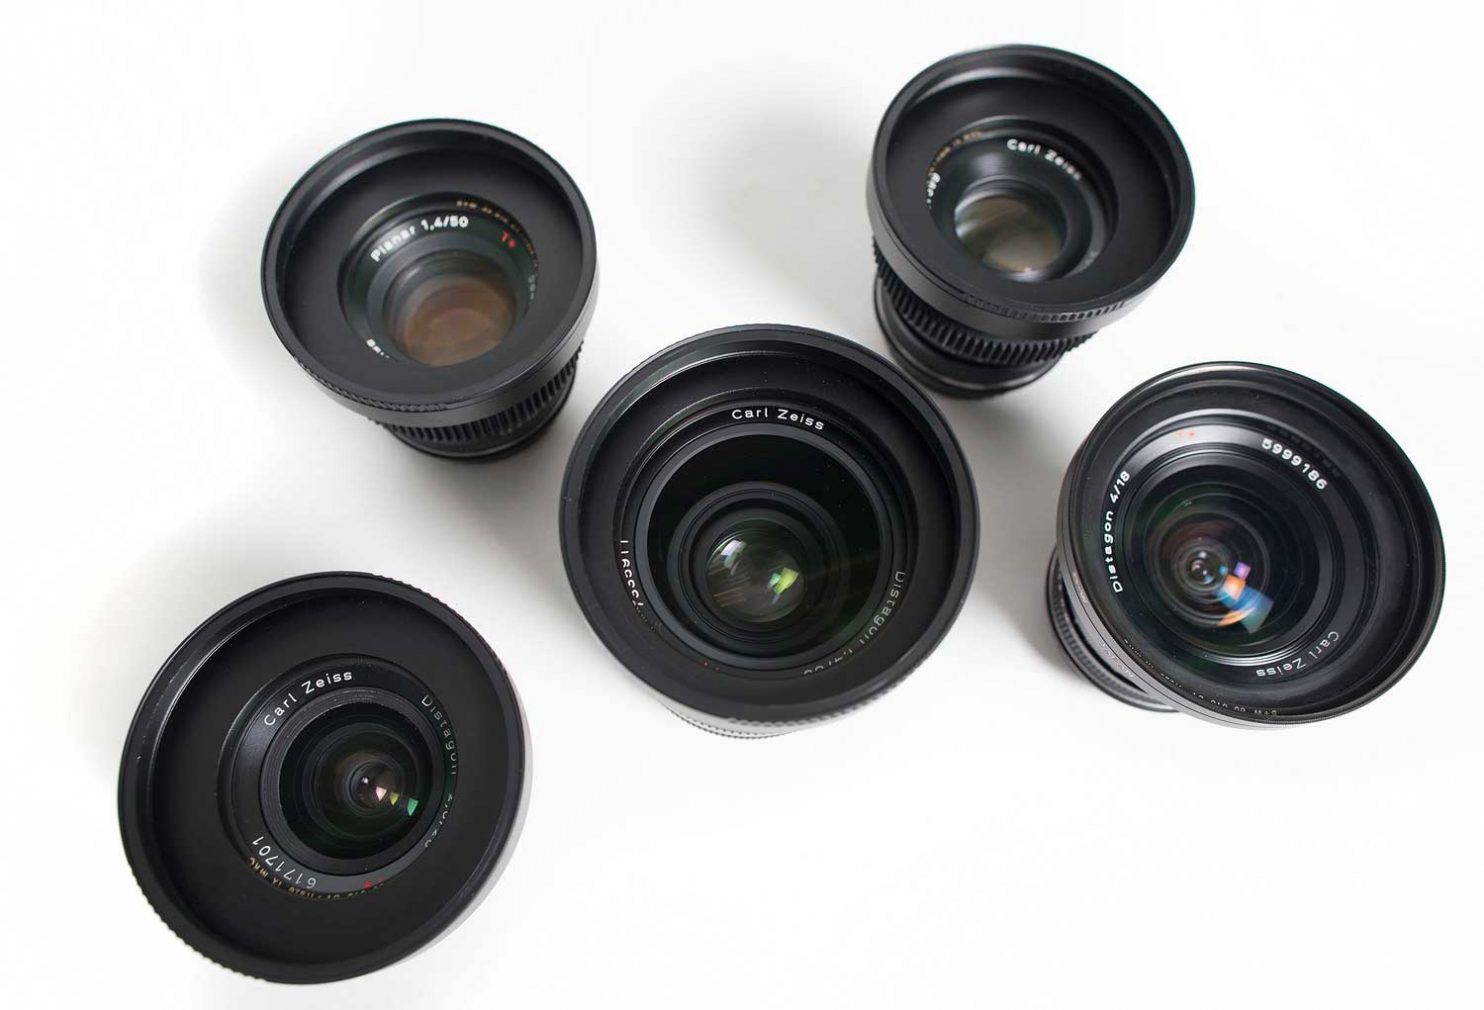
I recently decided to build a set of vintage Zeiss Contax Yashica primes for filming digital video. I had been reading the Contax Zeiss Survival Guide on Reduser.net written by Nick Morrison about these lenses. An incredible read and very helpful. The concept of building a set of these lenses was intriguing to me for many reasons, incredible speed, a beautiful glass coating, cost, physical size and unique bokeh.
Zeiss Super Speeds historically speaking are know for being able to film in low light. Super low light actually. That’s why they have the name super speed. There were several versions of the lens produced. The Zeiss B-Speeds, Mk Ⅰ Super Speed, Mk Ⅱ Super Speed and the Mk Ⅲ Super Speed. Other then the B-Speeds, the T stop on these lenses was T1.3. Matthew Duclos, wrote a great article about them if you are inspired to learn more.
Some folks consider several of the Zeiss Contax Yashica lenses to be very similar to the real Super Speed. The planar 35mm F/1.4, 50mm T1.4 and 85mm F/1.4, are among some of them. I personally own the 35mm and the 50mm. For me the 35mm F/1.4 has become a go to lens while working as a DP. Paired with a neutral density filter and filming close to wide open, the lens is stunning. I have been using it while filming food for Feed Me TV, and also for interviews. The depth of field fall-off is very fast, which helps with separating the subject from the background. Also, filming in low light, it has become my go to lens for dark restaurants while filming our food show.
Using vintage glass on modern digital sensors is a pleasure. For me, it has removed some the harshness and the perfections of modern lenses. Having some character and imperfections in an image reminds me of my childhood while learning the art of photography with film. While the Zeiss Contax lens line doesn’t add a tremendous amount of imperfection to footage, the coatings handle skin tons wonderfully and the macro contrast and fall-off make subject stand out from the background. It makes the subject “pop”, as folks like to describe a characteristic of the Zeiss look. To me, it feels easier on the eye and helps to increase engagement with digital video footage.

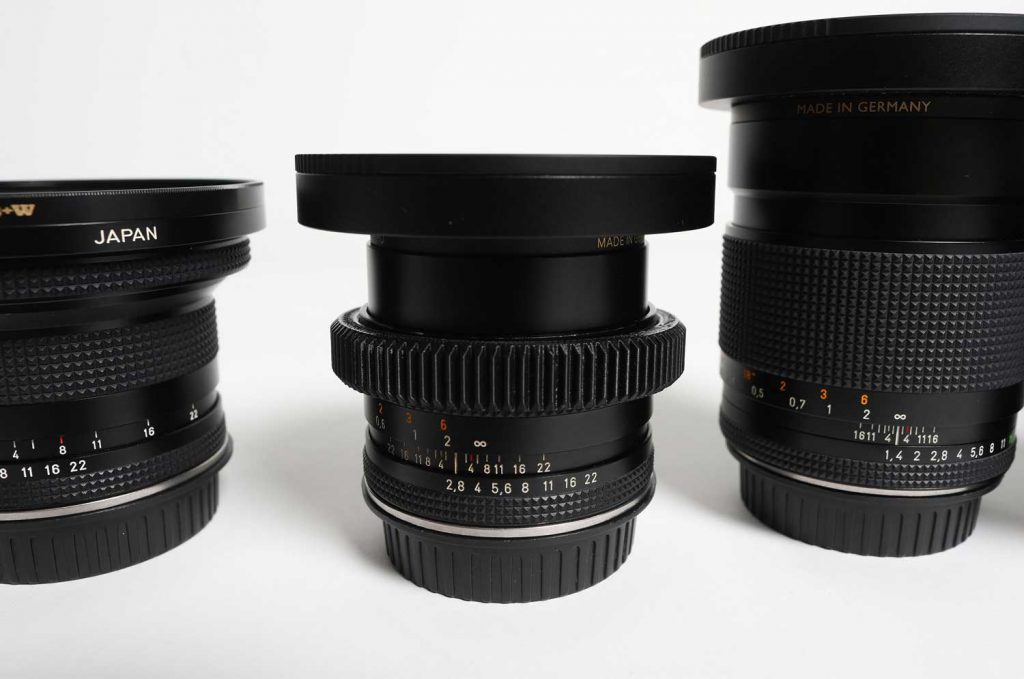
An absolutely massive positive consideration is the cost. A used Zeiss C/Y 25mm F/2.8 lens could set you back about $250 depending the condition. The 35mm F/1.4 could cost you $1000 or more found used on eBay. However, a Zeiss Super Speed set of five lenses could cost over $80,000. To my knowledge the unique thing about the Contax line and the Super Speeds, is that they were made in the same manufacturing facility in either Japan or Germany. For folks like myself who can’t afford the real thing, investing in vintage Zeiss Contax lenses and then modifying them for modern digital video cameras is certainly an option.
They are small, lightweight and relatively affordable compared to high-end cinema primes. This has been a massive blessing when I’m working solo or with a tiny team. Less weight and also high quality is a massive bonus. Keep in mind though, these were designed for still photography, not cinema. A huge difference in my experience is how these lenses perform with respect to focusing. A cinema lens could have 350 degrees of smooth focus rotation, where a still photography lens has half of that. This means that when you rotated the barrel of the lens to focus, the amount of change will be more drastic then with a cinema lens. It also may not focus as smooth and the F stop ring will have a ball bearing that will click into place as the F number lines up with the middle of the lens.
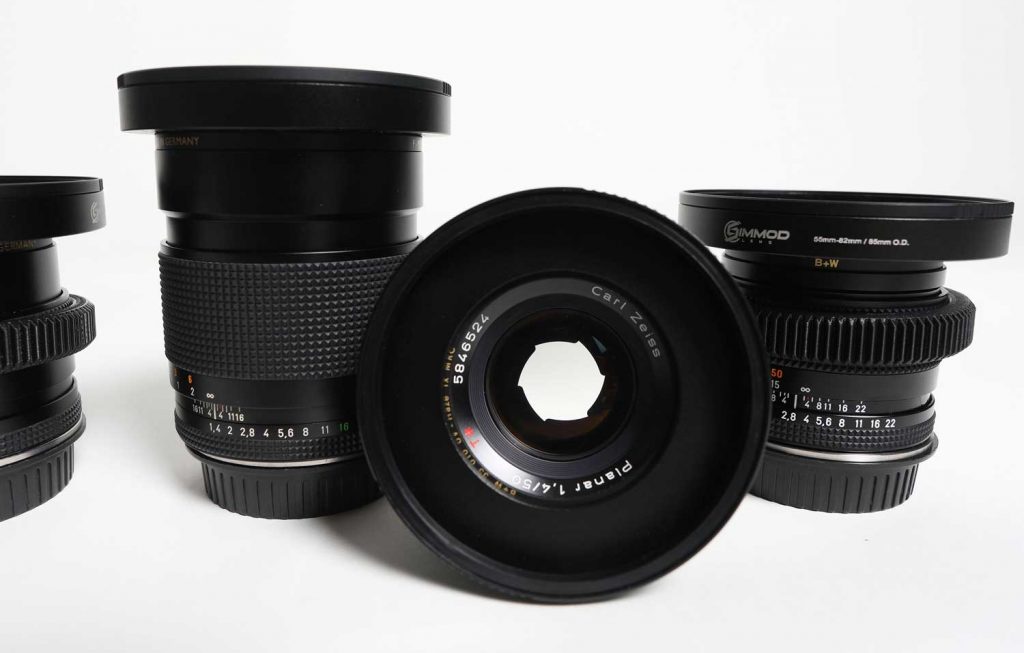
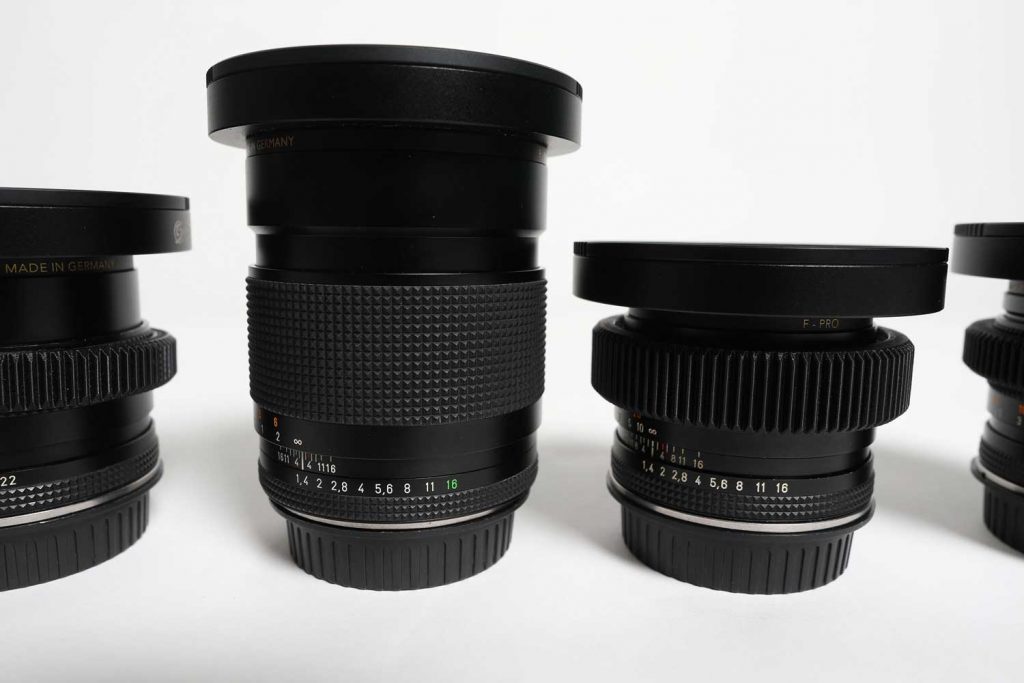
Depending on the model, they have bokeh that has been given a nickname of Ninja Star. All of the AE models have the star and all of the MM models don’t. The way to tell is based on the color of the smallest F stop, usually F/22. The AE models will have all white numbers and the MM models will have a green F/22 with the rest of the numbers being white. When you see the Ninja Star bokeh, it’s a dead give away that the DP is using Zeiss Contax glass. Although most of my set are the AE model you don’t always see the Ninja Star in the shot. You don’t really notice the star in my 28mm AEJ F/2.8, which has a tiny lens barrel, while with my 50mm AEJ F/1.4, the star is quite evident. I like it and find it charming, however it’s all personal preference.
So if you interested in taking the plunge like I did, uou may be asking yourself, “what do I need to do after I get my first Contax lens in the mail”? Well, it’s time to modify the lens!
Known as Cine-Mod, for cinema modification, it is the process of modifying the lens designed for still photography with the intention of now using the lens for video. Adding gearing, a new lens mount, a front ring designed for matt boxes and also de-clicking the iris are some of the big changes folks do when modifying these vintage lenses.
I’m a big fan of FollowFocusGears.com, who make great gears for many lenses. I’ve purchased several of these gears for Cannon lenses in the past and now for the Zeiss Contax conversions. The gearing is smooth and has a snug fit. Since the lenses are so old, it’s possible that the rubber on the lens barrel will have become unmounted from the lens itself. Usually because the glue has degraded over the years. If this is the case, a few spots of super glue will do the trick before you slide your gear onto the lens.

Since these lenses were originally designed for Contax Yashica cameras, the mount will be a C/Y mount and will not be compatible with Canon EF mounts. While there are simple conversion rings available, I chose to spend a bit more and buy a new mount from Leitax. These mounts are super solid and can take a beating in the field. David Lladó, based out of Spain, has been extremely helpful during this process. His website has a clear list of Zeiss models and the appropriate mount you need for this conversion.

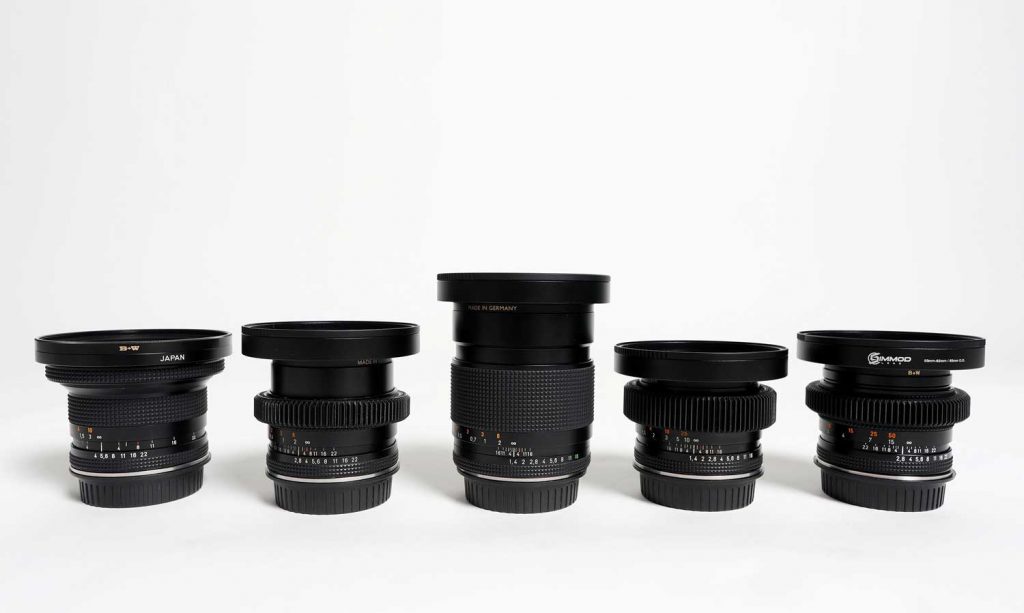
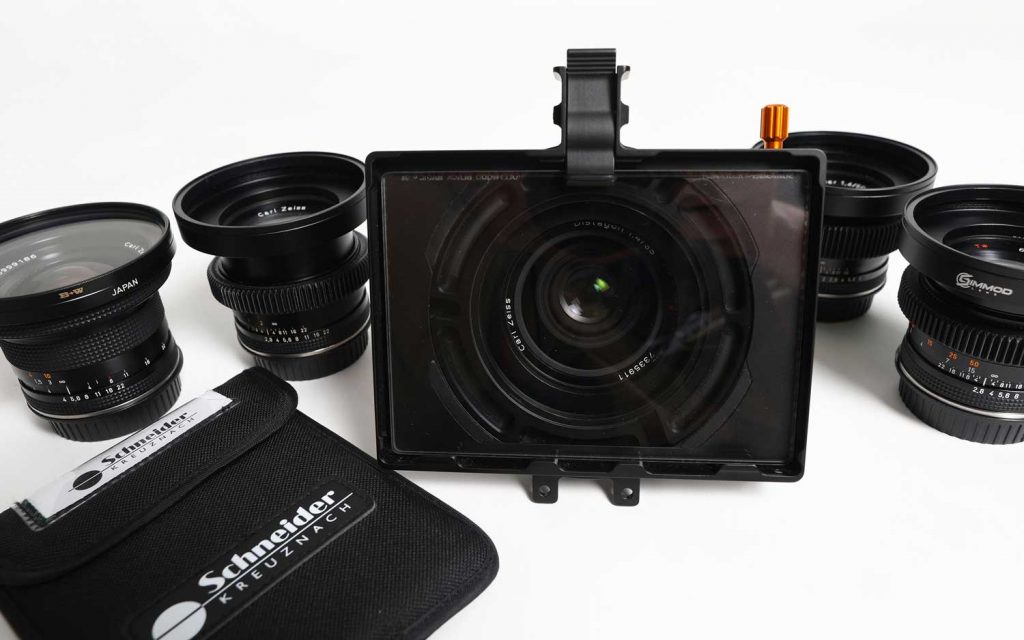
While building a set of these lenses, I quickly noticed that the front filter ring size varied depending on the lens I purchased. I chose to add a step up ring from Simmod Lens that is designed for lightweight matt boxes. The 85mm outer diameter model, with a 82mm internal thread worked perfectly for me. It pairs nicely with my Bright Tangerine Misfit Atom matte box. I also added a Manfrotto XUME lens adapter and filter holder to the front of the ring. This allowed me to have the option of quickly adding filters to the front of these lenses instead of using my matte box. A variable ND, with a XUME magnet speeds up workflow tremendously. I also purchased front and rear caps from Simmod Lens, which fit very well. Adding this ring also make handling the lenses easier. Since some of them are quite small, having the ring in front makes it easier to help with mounting to the camera and also picking them up out of your lens box.
Ok, de-clicking these lenses. Is it necessary? Personally, I chose to de-clicking all of my lenses and also dampen the iris during this process. I find myself racking aperture during pans across scenes that have a large light shift. If the iris ring still had the ball bearing inside it would click and the rotation of the aperture wouldn’t be smooth in the footage. Removing the bearing from the lens wasn’t super easy. The screws had been in the lenses for years and originally cemented in place. I literally broke several screw drivers working on this project. Stripped a few screws and had to bring three of my lenses to the jeweler to drill out the old screws. A challenge to stay the least. You can mail your lenses in for this modification or if you are up for the challenge here’s a great tutorial by Tito Ferradans on the Cinema 5D website if you want to try it yourself.
In conclusion, these lenses have some quarks, but are well worth the time and investment. The glass is beautiful and you can get a great result from them when you are filming digital video. They may not be as smooth as a cinema lens, but the cost is much less and they are much smaller! They also may not be sharp wide open. In my experience they are super sharp wide open for subjects that are fairly close, maybe even 10′ away? For distant objects, and while focused at infinity, you may need to stop down as I have had to. Depending on the lens you may not need to stop down, or you may need to stop down to F/11 for sharp distant objects. It does take some time to collect all of them from different parts of the world, to modify your collection and to discover the quirks of each lens. I found the process enjoyable, almost like a treasure hunt.